Sunday, February 12, 2012

Day 35- Rack to Carboy for Bulk Aging and Skeeter Pee goodness!

Well there hasn't been much action lately. Essentially I've just been monitoring the progress as the wine clears- you could see a good bit of the sediment on the bottom layer of the carboy. Technically, the wine could be bottled at this stage- but I want to follow some of the more advanced winemaker's advice and try bulk aging.

What is bulk aging and why do it? Well, bulk aging is allowing the wine to age in a carboy instead of in bottles. You do this for a couple of reasons. I will quote Winemaker magazine's "Wine Wizard" below:

The general purpose of bulk aging is to let the wine do what I call “finding itself” post-fermentation, which entails, physiologically and chemically, a couple of important things. First of all, a wine needs to 100% complete its primary fermentation. Any wine that is still going through these initial fermentation stages, in my opinion, is not finished wine and will lead to fizziness and cloudiness in the bottle (if bottled too early). A wine also must lose the carbon dioxide it might have retained from its fermentations and it has to have enough time to settle out its natural sediments (“lees”). If you’re so inclined, you could go through other steps like filtration or cold stabilization, but these are just icing on the cake. After a wine is inactive and settled out, the main determinant of when to bottle should be taste. Gutsy red wines like yours may need 12 months in the barrel or carboy to mellow out their harsh tannins whereas some delicate, white wines can technically be bottled as soon as they fall bright.


I think this is a pretty good explanation. Also, you must consider that purely from an surface area contacting oxygen standpoint, the bulk aging will be at much less risk of oxidization. There's only about 2" of surface area in the entire batch whereas each bottle will have an inch or so of surface area where it is contacting oxygen.

Good enough for me.

On to the pictures!


Not quite as much sediment left here as you can see. The only thing I added was 1/4tsp of K-Meta to aid in the bulk aging. I topped it with a bung and airlock only because I can't find my solid bung (no hole in the stopper) which I'm going to grab tomorrow from Axis Natural Foods.

The wine smells absolutely delicious, by the way. The oak cubes were well soaked and I can get that nice hint of oak. A tiny bit of topping up was needed, so I used what I carefully sifted off of the lees when I racked the last time (which I placed in an airtight container in the fridge for this very reason.)
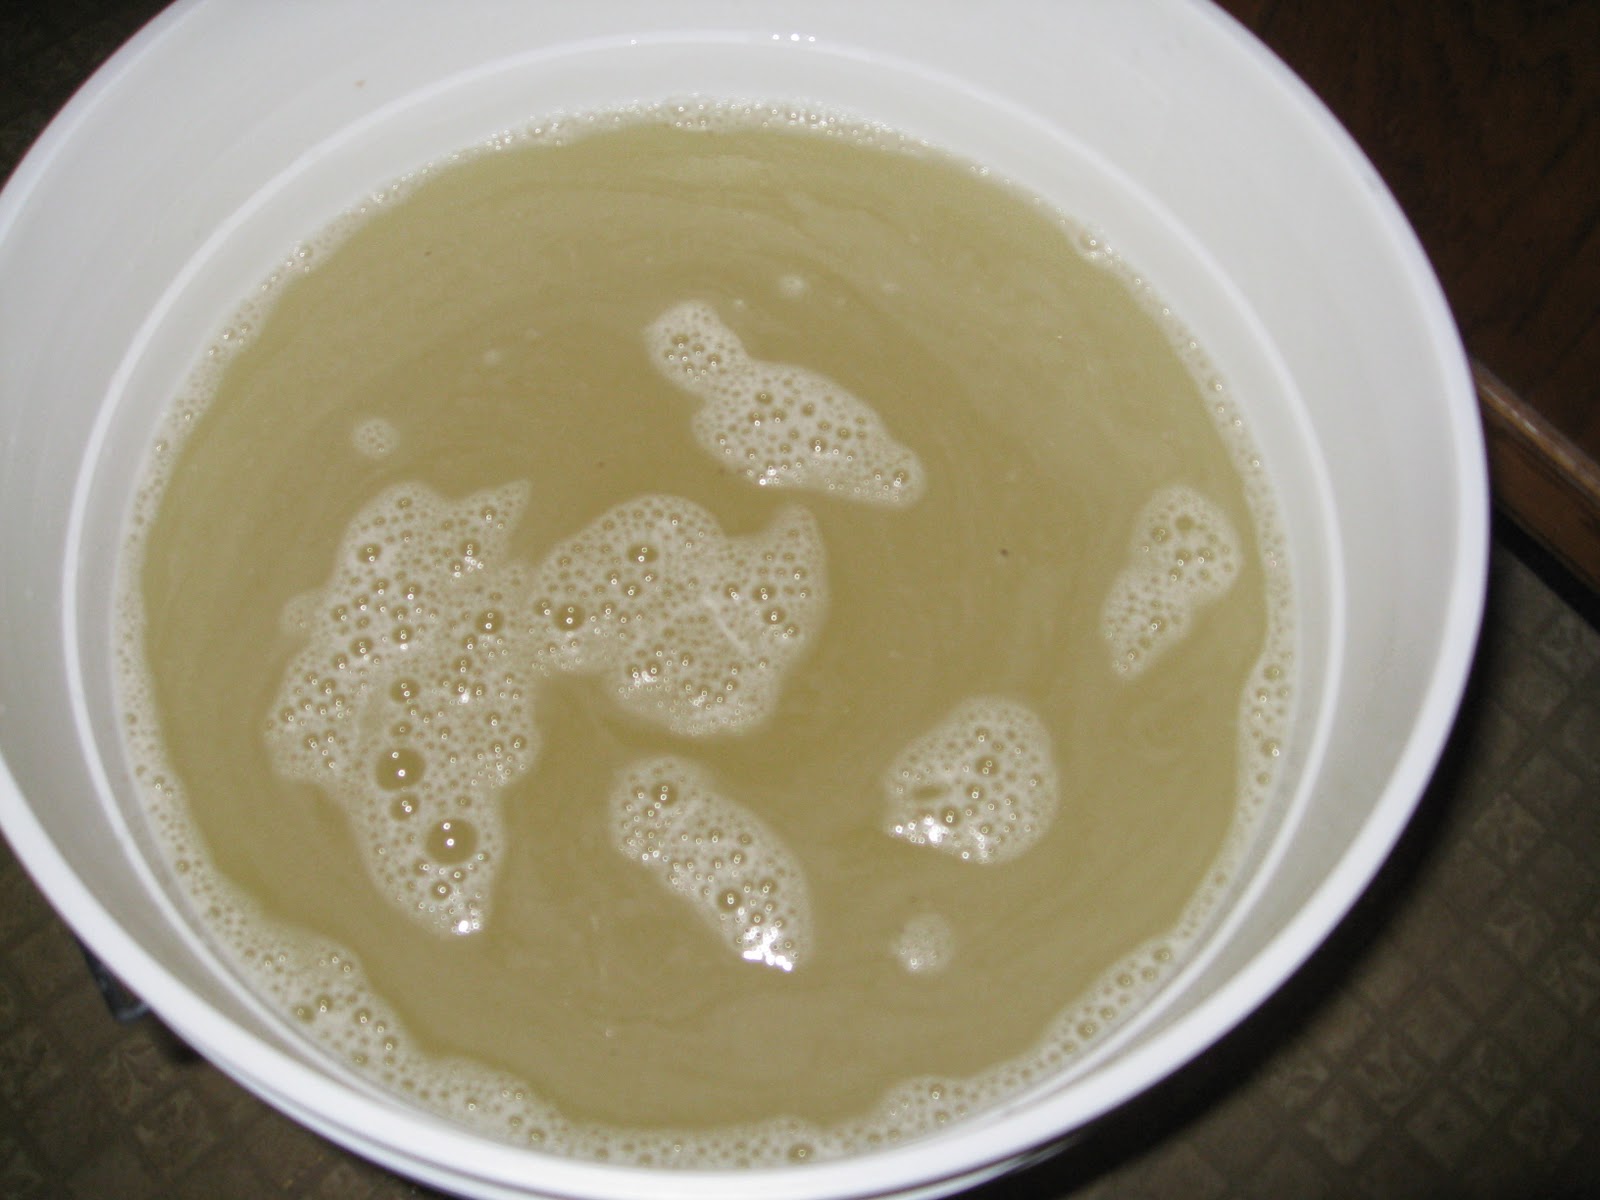


Skeeter Pee!

Time to stabilize the skeeter pee. It has a faint sulfur smell (which is not uncommon with lemon wines) which I'm going to take care of by "splash racking" which simply means letting the wine hit the side of the container and splash in, aerating it and helping to disburse the sulfur dioxide. Normally, you don't want to splash rack because oxygen in your wine is bad, but I'm about to put this all under airlock so it will be totally fine.

Splash racking temporarily to the bucket so I can degas as well as clean the carboy to put the skeeter pee back in (it's my only 5GAL carboy.) Notice the tube is up in the air and the wine is foaming as it hits.


And that's that, now time to degas- splash racking helps degas, by the way and it also remains important to keep the wine warm. The room was a bit cooler than I would have liked, but I went ahead anyway.


And then it was time to add the following: K-Meta (1/2tsp) K-Sorbate (2 1/2 tsp) and dissolve Sparkolloid (a clearing agent) in boiling water and add all of that in order to a) stop fermentation and b) drop out the remaining sediment to prepare for bottling:


And finally, after cleaning and sanitizing the carboy it's time to rack the wine back into the carboy and add a stopper to keep out the oxygen:

That's all for day 35! I'm going to let the red wine age for about 3-6 months (haven't decided yet) in the carboy. After that it will be on to bottling. The skeeter pee will be done within the month and ready to be bottled.

Until next time, thanks for reading.

Day 21- Racking to Carboy for stabilizing and fining!

Day 21- it's time to rack the wine into the carboy and add the stabilizing and fining/clearing agents that help drop out the remaining sediment. It's also time to degas the wine (get all the CO2 out) and to add the oak cubes! Lot's to do today!

As you can see below, there's a good chunk of sediment on the bottom of the carboy that the wine was in for secondary fermentation. We need to get the wine racked off the lees and leave as much of the sediment as possible. Then we'll add chitosan, some Potassium Metabisulphite (K-Meta) and Potassium Sorbate for stabilizing (to stop the fermenting!)


Once the racking is done, it's time to degas: (with video goodness)


The tool I'm using on my drill is called "The Whip" from Fermtech and it basically aids in the degassing process. The key to degassing is to keep the wine warm. It was about 70 degrees in the wine lab at the time.

After 20 minutes of that- I added the fining agents, capped it with a bung and airlock, and we're playing the waiting game for another 14 days.


Thanks for reading!

Thursday, January 12, 2012

Day 6- Secondary Fermentation and Day 1 of Skeeter Pee!

Exciting stuff, today the SG of the wine must is 1.006 which means it's time to rack into a cleaned and sanitized carboy (again Oxiclean for cleaning, rinsed well, and K-meta and water for sanitizing). I removed the grape skin bag and squeezed it gently to remove as much of the liquid as possible. The bag is then discarded as it has no further use.

I then cleaned my auto-siphon and sanitized it as well. Here's the start of the siphon. The idea here is to take the bulk of the wine must and move it into the carboy which is then put under air lock so no oxygen gets into it. As fermentation slows, the production of CO2 lowers and allows for air to get inside the must and cause bacterial growth and oxidization.

I also took an acidity reading today and found that the wine is 0.675 % (0.675 grams acid per 100 mL) which is well within the normal range for a dry red wine.


Below you can see the auto siphon placed into the wine. I placed the bottom up against the side of the bucket, about 2 inches above the bottom so as to not to bring the bulk of the sediment along with the liquid.


Here it is all done. What's left on the bottom is a tiny bit of liquid and the sediment which includes live yeast, dead yeast, oak shavings and anything else that was heavy and brought to the bottom of the bucket by gravity with the help of the bentonite added on day 1.


And here it is. I cleaned and sanitized an airlock and filled it halfway with water. This airlock allows air to escape (CO2 that's being produced by the secondary fermentation) but keeps oxygen from coming back into the bottle. It bubbles about once every 2-3 seconds which means it's working away nicely.


The wine will sit in this carboy for about 10 days before receiving a treatment that will stop the yeast from reproducing and will halt fermentation. The idea is that the specific gravity gets to about .996 or below before I move on.


And as if this day wasn't exciting enough, it's time to put the yeast slurry (the left over lees that you see in the bottom of the bucket after the wine was racked) to work.

Because there's some very good wine yeast in there with plenty of pep left, people have developed a great recipe for a lemon wine that's about 10% alcohol and drinks like a true hard lemonade (and not a flavored malt beverage like Mike's- nasty.)

It's a great summer drink, but why let the yeast slurry go to waste! I'll be putting it to use right away. The first step is to take 16 cups (YES! 16 CUPS!) of sugar and dissolve it into 8 cups of water. You then create invert sugar by heating it just before boil and leaving it at that temperature for 30 minutes. This breaks the sugar down into glucose and fructose. I also added 1/3 a cup of real lemon concentrate because the acid helps facilitate the process.


Then I mixed 64 ounces of the real lemon concentrate with about a half gallon of cool water and placed it into the clean and sanitized fermenting bucket. as seen below- (try to guess why it's called skeeter pee?)


After that you take the invert sugar and pour it into the bucket and fill to 5.5 gallons with filtered water:


After that it's time to add 3/4 tsp of tannin, 1 tsp of yeast energizer (which helps kick start fermentation) and 3 tsp of yeast nutrient (feed those yeast!)


This concoction sits in the bucket with a towel over it for about 24 hours before adding in the yeast slurry that I removed from the bucket and placed in the refrigerator to keep until tomorrow.

That's all for today. PHEW- that was enough, I think!

Days 4 and 5- Primary Fermentation

Nothing much happening these days, the SG continues to drop. Day 4 was 1.024 adjusted for temperature. Day 5 was 1.012 adjusted for temperature. At 1.010 or a bit below it's time for secondary fermentation, which means Day 6 is most likely the day!

Monday, January 9, 2012

Day 3- Primary Fermentation

Nothing too exciting today- but the wine must is bubbling up very nicely. It's making a sweet fizzy sound and smells very much like alcohol and grape juice! Here's a little video where you can see the fermentation in action! If you listen closely you can even hear it bubbling and fizzing.


Today the specific gravity of the wine must is 1.052 which means it's about 6% alcohol by volume currently. Oh so very exciting! As you can see from the below picture, the grape bag is now almost constantly floating, so each day I must continue to "punch down the cap" a couple of times to keep the grape skins from oxidizing or drying out.

Sunday, January 8, 2012

Day 2- Primary Fermentation


As you can see, the grape skin bag is now at the top of the bucket because the CO2 produced by the yeast is moving it up in the liquid. I will not do much today. I "punched down the cap" which is a fancy way of saying I pushed a sanitized spoon into the liquid to bring the grape skins below the surface. This ensures that they stay wet for multiple reasons. The most important of which is so they don't oxidize which could ruin the taste and odor of the wine and also promotes bacterial growth.

Of course I used a freshly sanitized stirring spoon as you see below for all of this:


With the cap punched down:


I also took a reading of the specific gravity and found out that today the SG of the solution is 1.086. It's dropping! Once it's below 1.010 it'll be time to move it into secondary fermentation in the airlocked carboy.

Saturday, January 7, 2012

Day 1- Primary Fermentation

After cleaning all of my equipment (with OxyClean) rinsing, and sanitizing (with K-Meta) I'm ready to begin!

First step- add the bentonite to 1/2 gallon of hot water (I used purified tap water brought almost to a boil) and stir vigorously. As mentioned in my last post, bentonite is a clearing agent. It's used early on in the process with some WineExpert kits because it binds to positively charged particles, in this case the yeast and helps to bring the yeast back down into the mixture. Bentonite isn't some fancy man made chemical, it's actually a clay granule!


The next step is to add the grape concentrate! I stirred this into the bentonite mixture gently at first. The line in the bucket is the 6 Gallon mark which is where the mixture should be before adding the grape skins, oak and yeast.


I added 1 gallon of warm water to the bag that the concentrate came in, got all of the last of the juice out, and ended up very close to the line. I topped it off with a bit of lukewarm water and ended up with the picture below:

The next step is adding the bag of grape skins! I sanitized my cloth bag and placed it around the mouth of a sanitized bowl as seen below:


Then I poured the grape skins into the bag that's now sitting in the bowl. Once these grape skins are in, it's time to tie off the bag, leaving plenty of room for the grape skins to move around, and then place it into the fermenting bucket. I also poured the bit of concentrate that was filtered into the bowl into the bucket.


Next, it's time to add the oak shavings. The cubes are saved for later stages after a couple of rackings. For now, I added two packets of 20g each of Hungarian Oak shavings. These are a bit messy and have to be stirred underneath the mixture so they don't float on top. Of course this oak gives the wine it's characteristic oak flavors. In the future I may play with the amount of oak in the wine, but for this kit, I added exactly what was sent.


Here's the mixture with the oak stirred in (mostly- I did a bit more stirring later on):


Next, it's time to measure the Specific Gravity of the wine. Without getting too technical, specific gravity in the case of wine making is a comparison of the density of a substance (in this case the wine must) as compared to water. To start, this kit should be between 1.080 and 1.100 on the hydrometer. You can use a glass cylinder, but in my case I decided to just place the hydrometer directly into the wine as seen below:


I was holding it for the picture, but you simply let the hydrometer sit and look at the reading (don't forget the meniscus!) and I found the reading to be at 1.094. However, my must was at a temperature of 75 degrees and the scale for the hydrometer is based on 60 degrees. I did a calculation which determined that my specific gravity was 1.096 which is well within the normal range for this kit. On to the next step! The yeast:


The Lalvin yeast RC212 is added (both packets) to the must. It is not first reconstituted in water like in some recipes. With this kit you simply pour the yeast over the top of the wine must and the yeast will do its thing. This is where the bentonite comes in, it will bind with the yeast and the combined weight will bring it to the bottom of the must.


And that's all for now. I placed the lid gently on top of the bucket and it will sit for around 7 days. I will gently stir it every couple of days and I will take a reading of the wine's specific gravity each day as well.

Until next time!